DIY Repair Tips for Extended Wooden Furniture Longevity

Chosen theme: DIY Repair Tips for Extended Wooden Furniture Longevity. Welcome to a hands-on, heartfelt guide for keeping your wooden favorites strong, beautiful, and useful for decades. Join our community, share your wins and challenges, and subscribe for fresh, practical repair inspiration.

Grain, Movement, and Seasonal Shifts

Wood swells in humidity and contracts in dry air, which stresses joints and finishes. Respecting grain direction and seasonal movement helps you choose flexible techniques and adhesives, preventing future cracks and keeping repairs invisible and durable through changing conditions.

Species Matters: Oak, Pine, Walnut, and Beyond

Hardwoods like oak and walnut require stronger clamping pressure and careful drilling, while softer woods like pine bruise easily and need gentler sanding. Knowing your species guides glue selection, filler compatibility, and finish choice for extended furniture longevity without unintended damage.

Building Your DIY Repair Kit

Adhesives, Clamps, and Applicators

Keep fresh PVA wood glue, liquid hide glue for reversible repairs, and cyanoacrylate for tiny chips. Add bar, pipe, and spring clamps with cauls to prevent dents. Use syringes, silicone brushes, and cotton swabs for precise application that avoids squeeze-out stains.

Fillers, Color, and Touch-Up Essentials

Stock water-based wood filler, wax filler sticks, shellac sticks, and a small set of alcohol-soluble dyes. Include blending pencils and fine artist brushes to match grain. These let you disguise repairs, extend longevity, and keep the finish visually consistent across repaired sections.

Safety and Workspace Setup

Create stable, padded supports for clamping. Wear eye protection, a dust mask, and nitrile gloves. Provide good ventilation for solvents and finishes. A tidy, well-lit space prevents rushed mistakes and ensures each step cures properly, leading to stronger, longer-lasting repairs overall.

Stronger Joints: Regluing and Reinforcement

Disassembly, Cleanup, and Dry Fit

Carefully separate the joint with gentle persuasion, using soft mallets and wedges. Scrape away brittle glue without removing wood. Dry-fit parts to test alignment and clamping strategy. This rehearsal reveals gaps and prevents panic when working with open glue time ticking down.

Choosing the Right Glue for Longevity

PVA excels for most interior joints, while liquid hide glue is ideal for antiques needing reversible repairs. Epoxy fills gaps but requires careful mixing and cleanup. Match glue to joint type, environment, and future service to ensure repairs last through years of regular use.

Surface Revival Without Losing History

Begin with mild soap and water, used sparingly and wiped dry. For grime, try mineral spirits or a dedicated cleaner. Test hidden spots first. Removing contaminants often restores luster, avoiding full refinishing and preserving patina that tells the furniture’s unique story.

Surface Revival Without Losing History

If sanding is necessary, progress through grits slowly and protect edges. Measure veneer thickness, and hand-sand with blocks to avoid dips. Stop as soon as defects are addressed. Over-sanding thins surfaces, shortens lifespans, and forces heavy finishes that may crack prematurely.
Maintain indoor humidity between 40–55% to reduce seasonal movement and joint stress. Keep furniture out of direct sun to prevent finish fading and checks. Simple positioning decisions dramatically extend wooden furniture life while minimizing future DIY repair sessions.

Protection, Placement, and Preventive Care

Add felt pads under feet, adhesive cork under lamps, and soft-close bumpers on doors. Tighten screws seasonally and lubricate hinges lightly. These small touches prevent cumulative wear, reduce vibration damage, and keep components aligned, preserving structural integrity and long-term stability.

Protection, Placement, and Preventive Care

Stories from the Workshop: An Heirloom Rescued

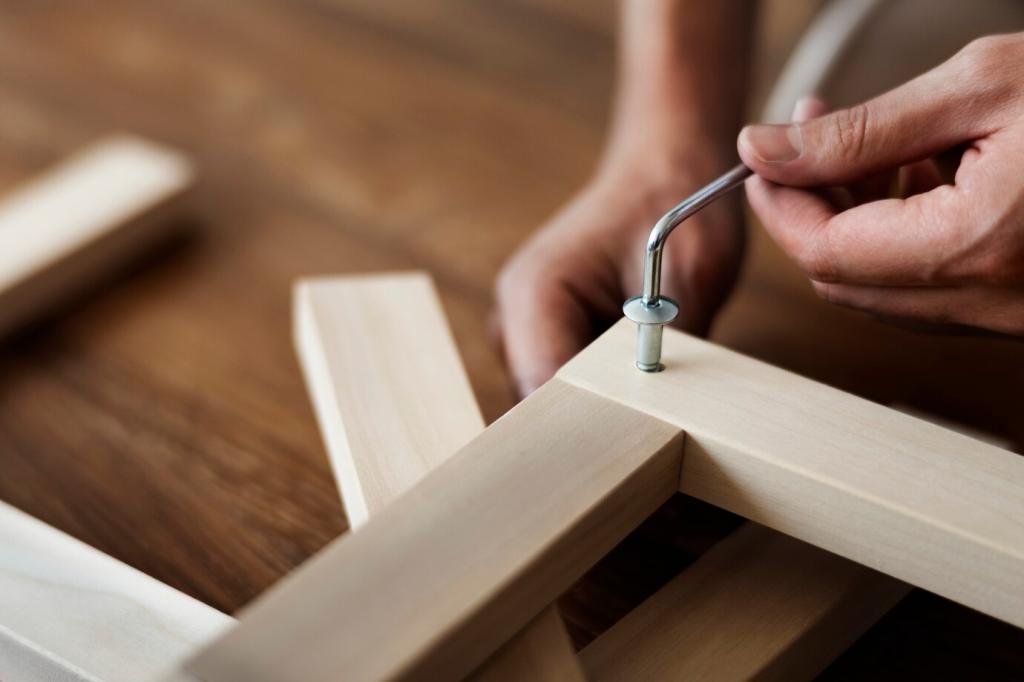
A 1950s walnut dining table arrived with loose mortise-and-tenon joints and a sun-bleached top. After patient disassembly, hide glue reassembly, and gentle cleaning, it hosted a family meal the very next week—sturdy, handsome, and ready for new stories to unfold.

Stories from the Workshop: An Heirloom Rescued

Slow work beats rushed fixes. Cleaning old glue and dry-fitting prevented misalignment; adjusting clamp pressure avoided squeeze-out stains. A breathable oil-wax finish provided repairability. These practical choices ensured the repair will age gracefully and remain easy to maintain for years.
Lead-university
Privacy Overview

This website uses cookies so that we can provide you with the best user experience possible. Cookie information is stored in your browser and performs functions such as recognising you when you return to our website and helping our team to understand which sections of the website you find most interesting and useful.