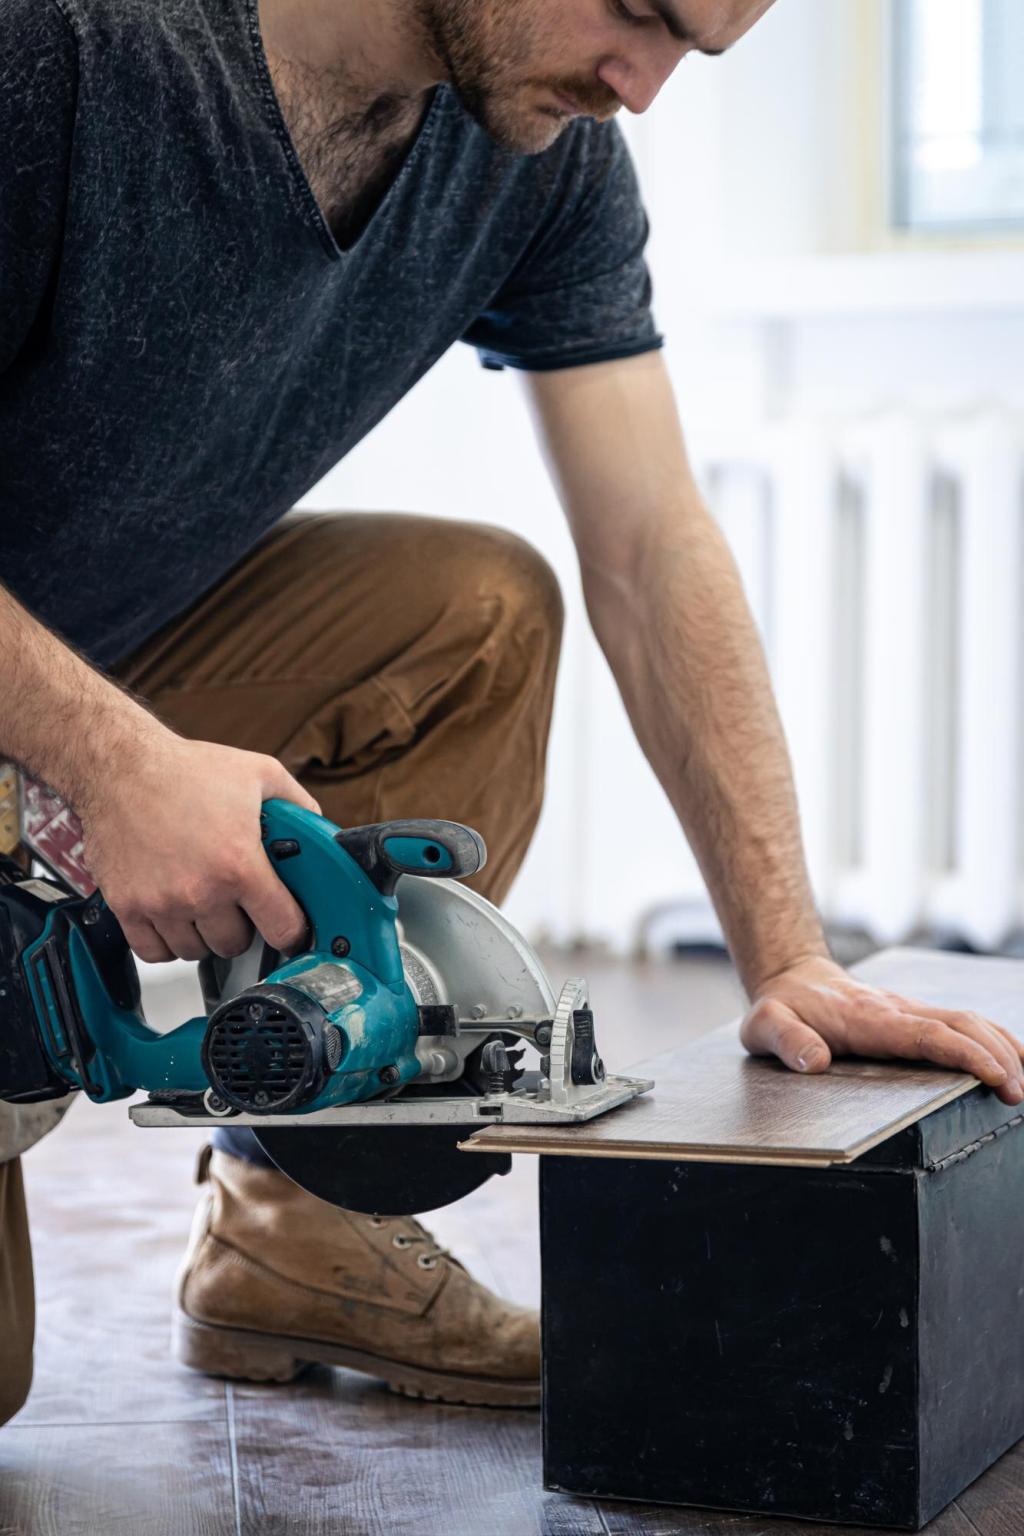
Preparation: Clean, Test, and Respect the Grain
Silicone polishes can cause fisheyes and uneven soaking. Wipe a discreet area with mineral spirits to test for residues and old wax buildup. If you see smearing or dull, greasy patches, clean thoroughly before oiling. Ask below if you’re unsure what’s already on your piece; photos help us spot trouble.
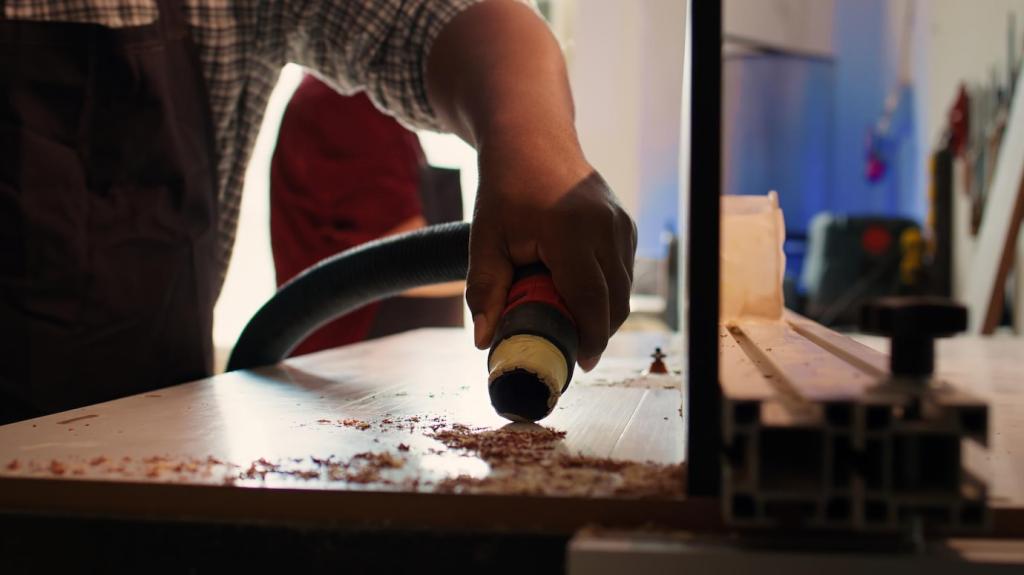
Preparation: Clean, Test, and Respect the Grain
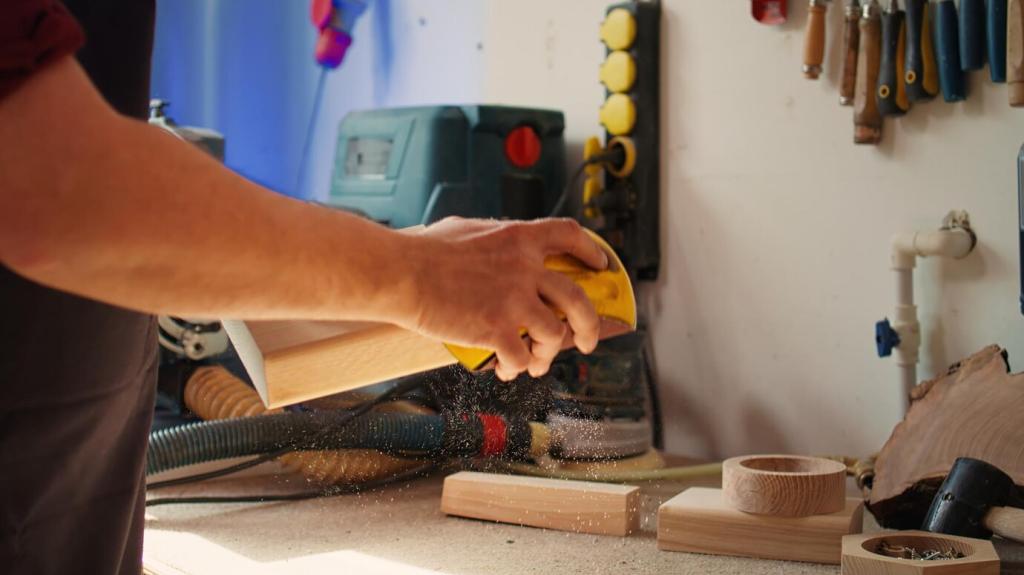
Instead of aggressive sanding, try a nonwoven pad or 0000 steel wool lightly with the grain to refresh the surface and improve adhesion. Vacuum dust, then tack with a lint-free cloth. Over-sanding can blur crisp edges and erase character, so go minimally—patina is history worth preserving.